Download Pictures from Motorola Phone to PC
We are in the age of social media. This implies that many of us take so many pictures with our phones. After a while, we want to move these pictures from our devices to our computers.
There are several reasons why you make this decision. What is the bottom line? If you have a Motorola phone, you need to know how to download pictures from Motorola phone to computer.
There are several ways to achieve this. We will show you several ways to transfer your pictures in this post.
Part One: Download pictures from Motorola phone to computer by Copy & Paste
This is one of the easiest and commonest methods of transferring files between a Motorola phone and computer. By the time we are done with explaining the steps, you’ll find it very easy. To get this process done, you need to have a data USB cable.
Let’s take a look at the different steps involved in downloading photos from Motorola phone to computer using this method:
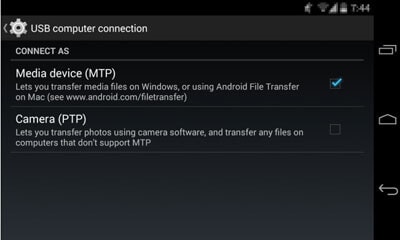
步骤1 – Plug your Motorola phone using a USB cord to the computer. Usually, you get a prompt that requires you to choose your connection type. You have two connection types on this page which are:
- Media device (MTP), and
- 相机(PTP)。
Pick Media device (MTP) to establish your connection.
步骤2 – Find the “File Explorer” window on your computer. To do this, click on the “Windows” icon on the bottom-left corner of your computer screen. In some cases, you may have a shortcut on the taskbar, click on the folder icon to take you there.
步骤3 – Scroll through the sidebar on the left of your “File Explorer” window. Here, you will find your Motorola phone. Make sure you know the name of the phone to make your search easier. When you find your phone, click on it to open the window.
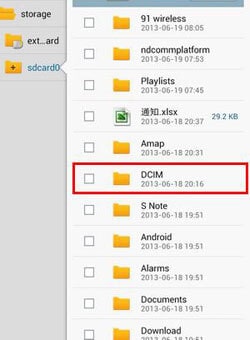
步骤4 – All you need to do at this point is to find the location of your pictures. It will either be in the “SD Card” or “Internal Storage” folders. The location is based on the settings on your phone.
步骤5 – Locate the “DCIM” folder and double-click to open it. After this, you should see the “Camera” folder. This is the location where photos taken using your phone camera are stored. If you have other photos you wish to transfer, you can find them in their folders.
步骤6 – Choose all the photos you wish to download to your computer. If you want to select all the photos, press “CTRL + A.” However, if you need only a few photos, hold down the “CTRL” key and click on the different photos.
步骤7 – You can copy the selected photos by right-clicking anywhere on the selection. A list of options pops up and you can select “Copy.” An easier method is to press “CTRL + C” after making your selection.
步骤8 – If you don’t already have a specific folder for the photos on your computer, you can create one. When you do, open the folder and right-click within it. It presents you several options, click “Paste.” An easier way is to open the folder and press “CTRL + V.”
步骤9 – If you want to copy the whole folder on your phone, you can simply right-click on it. Choose the “Copy” option. Go to the new folder on your computer and paste it there using any of the methods above.
Note that this method can be used in transferring other files like videos, music, and documents between your phone and computer. Doesn’t it look so simple? Let’s look at another method of transferring photos from Motorola phone to computer.
Part Two: Transfer photos from Motorola phone to computer using DrFoneTool
You can make use of an Android phone manager to make your photo transfer. We recommend DrFoneTool which is very fast and reliable. This remarkable tool allows you to move several files between your Motorola phone and computer without stress.
Before we look at how to transfer photos from Motorola phone to computer using DrFoneTool, let’s check out some features. DrFoneTool has several features that make it one of the best Android phone managers on the market. These features make it possible to do the following:
- Import and export, manage and transfer photos, music, contacts, videos, apps, and SMS.
- Backup your files such as photos, contacts, music, videos, etc. to your computer. This makes it easy to restore such files when necessary.
- Access to several highlighted features including gif maker, 1-click root, and ringtone maker.
- Compatible with over 3000 android devices including Motorola, Samsung, Huawei, and HTC.
DrFoneTool – 电话管理器 (Android)
在 Android 和 PC 之间无缝传输数据。
- 在Android和计算机之间传输文件,包括联系人,照片,音乐,SMS等。
- 管理,导出/导入您的音乐,照片,视频,联系人,短信,应用程序等。
- 将 iTunes 传输到 Android(反之亦然)。
- 在计算机上管理您的 Android 设备。
- 与Android 8.0完全兼容。


Now let’s see how you can transfer your photos using DrFoneTool through these steps:
步骤1 – Enable USB debugging on your device. Go To “Settings” and tap on “About Device.” Select “Software info” and choose “Build Number.” Tap this 7 times and then go to “Developer Options.” Here you can enable USB debugging.
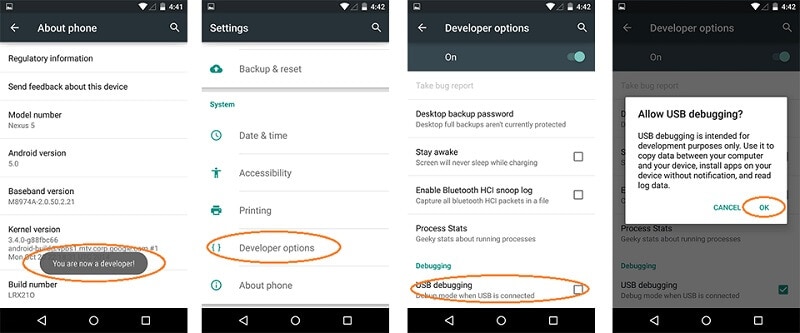
步骤2 – This allows your computer to gain access to your device.
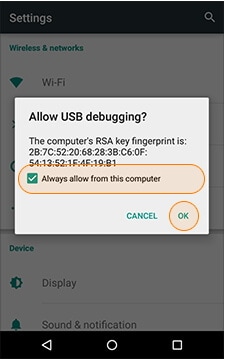
步骤3 – Upon connection of the phone to the computer using a USB, a prompt appears asking you to choose the connection type. Select Media Device (MTP) to gain access to the file storage.
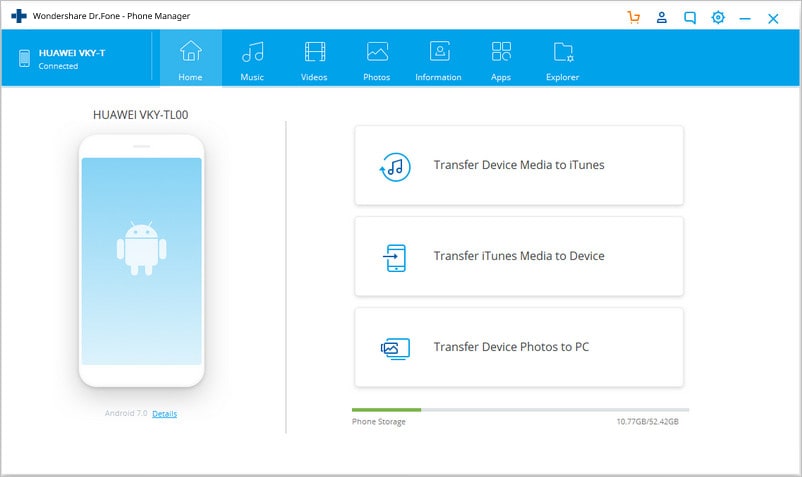
步骤4 – Launch DrFoneTool on your computer. The software will detect your device automatically.
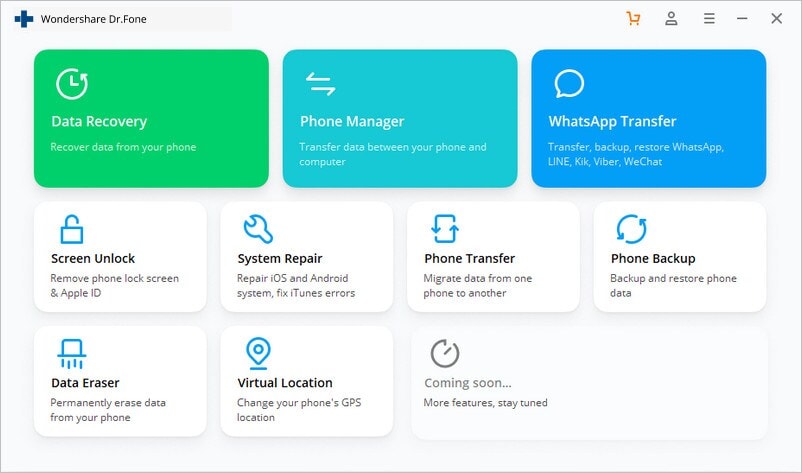
步骤5 – If you desire to move all the photos on your Motorola phone to your computer, this is easy. Simply click “Transfer Device Photos to PC.” This starts the process immediately.
步骤6 – To choose a few photos, open the photos tab. Select all the photos you desire to download.
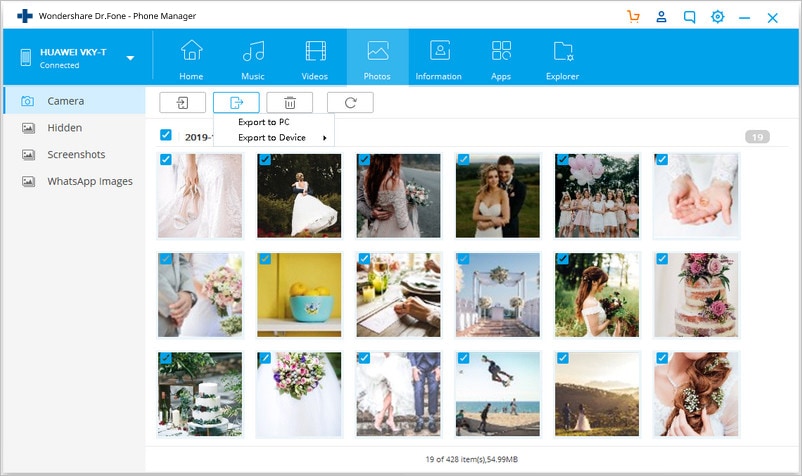
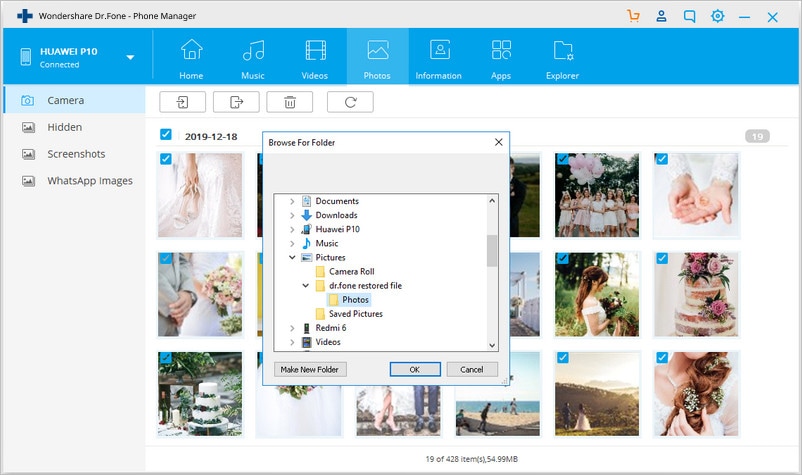
步骤7 – Click “Export” to move the photos to your computer. A window pops up asking where to save the photos. Make your selection and the transfer begins.
That’s all about the process. It is that simple.
Part Three: Import photos from Motorola phone to PC wirelessly
Do you know it is possible to download pictures to your computer from your Motorola phone wirelessly? Is this surprising? Well, technology has made a lot of things possible including the wireless transfer of files between devices.
There are two ways to transfer pictures from Motorola phone to computer wirelessly. They include:
- Using Motorola Phone Portal (MPP).
- 使用Google相簿
Let’s show you how to use each of these below.
Using Motorola Phone Portal (MPP)
When using this method, you can either set up a wireless network or use a USB. Since we have discussed using USB to transfer photos above, we will focus on wireless transfer in this section.
Check out the steps below to transfer your photos:
步骤1 – Set up a Wi-Fi network. If there is one around, you may only have to connect to it. Some of such available Wi-Fi networks don’t support the connection of different devices.
步骤2 – Touch the home button on your Motorola phone and go to the Phone Portal.
步骤3 – If the device is connected to the wireless network, it provides you with an MPP URL. Enter this URL in the browser on your computer. This opens the Motorola Phone Portal on your computer.

步骤4 – If the smartphone isn’t connected to the wireless network, it prompts you. Open the Wi-Fi settings on your phone by touching OK on the prompt message. From here, you can turn the Wi-Fi on them to establish the connection by touching the appropriate network.
步骤5 – If it is a secure connection, it will require you to enter a password. Make sure you enter the appropriate Wi-Fi password else you will not gain access to.
步骤6 – When the MPP page opens on your computer, you can select the pictures you want to download.
步骤7 – After making your selection, simply click on “Download” to transfer the pictures to your computer.
Note that MPP only works on Internet Explorer 7 or a newer version. You should also make sure that you enable cookies and JavaScript.
使用Google相簿
Another way to transfer photos from Motorola phone to computer wirelessly is through Google photos. This is one of the many services Google offers its subscribers. Even if you don’t have Google Photos on your device, you can download it easily from the Play Store.
One more thing, your photos should be in JPEG format and at most 16 million pixels to appear. Follow these steps to transfer your photos using Google Photos:
步骤1 – Open the app on your computer and click on the Photos icon.
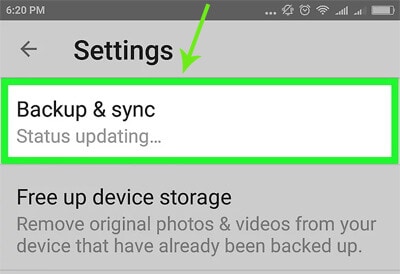
步骤2 – Open “Settings” on your phone and select “Save and Sync.” This makes it possible to save photos from your device on Google Photos.
步骤3 – Log into Google Photos on your computer using your Google ID and password. This gives you access to your saved photos.
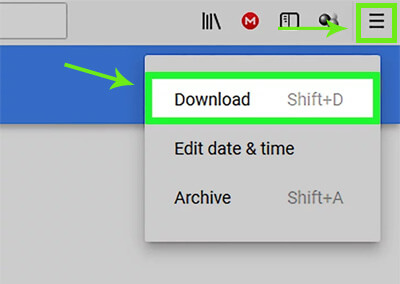
步骤4 – Select all the photos you plan to download to your computer. Click on the menu icon and select “Download.” This action moves all the pictures to a folder on your computer.
That’s all there is to download photos to your computer using Google Photos. It is that simple.
总结
There you have it, now you know how to download pictures from Motorola phone to computer. We have presented you with a variety of methods to choose from. If you have any questions, you can hit us up in the comments section below.