How to Transfer Files from Sony to Mac/MacBook
We know that every cell phone has its own brand and come with own features the same as Sony Xperia. People who tend to buy Sony phone are so crazy that they purchase only Sony series mobile phones mostly. So certainly there make be some advantages for it. Sony is well known for its brightest display, which attracts public to click more pictures. For this, you need to have storage and to free up space you need to have backup Sony to Mac. Now what, need a professional tool which can work best and transfer your all data files to Mac. Here we have the tutorial on how to data transfer Sony to Mac tehokkaasti.
Part 1. One Click to Transfer Files from Sony to Mac
If you’re storing all your data on the Mac computer and currently you’re using Sony Xperia then you can simply transfer data from Sony Xperia to Mac easily with using third party software i.e. DrFoneTool (Mac) – Phone Manager (Android). It allows to transfer photos from Sony to Mac in 1 click, and also transfer photos, music, videos, contacts, messages from Sony to Mac selectively. This software is recommended and used by millions of users. The design is quite simple and customize so it can be user-friendly for the users. It is available for people from every corner all around the world and supports multiple languages. It makes the backup of all phone data to Mac.

DrFoneTool – puhelimen hallinta (Android)
Älykäs Android-siirto Androidin ja tietokoneiden välillä.
- Siirrä tiedostoja Androidin ja tietokoneen välillä, mukaan lukien yhteystiedot, valokuvat, musiikki, tekstiviestit ja paljon muuta.
- Hallitse, vie/tuo musiikkia, valokuvia, videoita, yhteystietoja, tekstiviestejä, sovelluksia jne.
- Siirrä iTunes Androidiin (päinvastoin).
- Hallitse Android-laitettasi tietokoneella.
- Täysin yhteensopiva Android 8.0: n kanssa.
Steps to transfer data from Snoy to Mac with DrFoneTool
To transfer the data you have to backup Sony to Mac using this below steps as it takes very less time to move your data from one device to another.
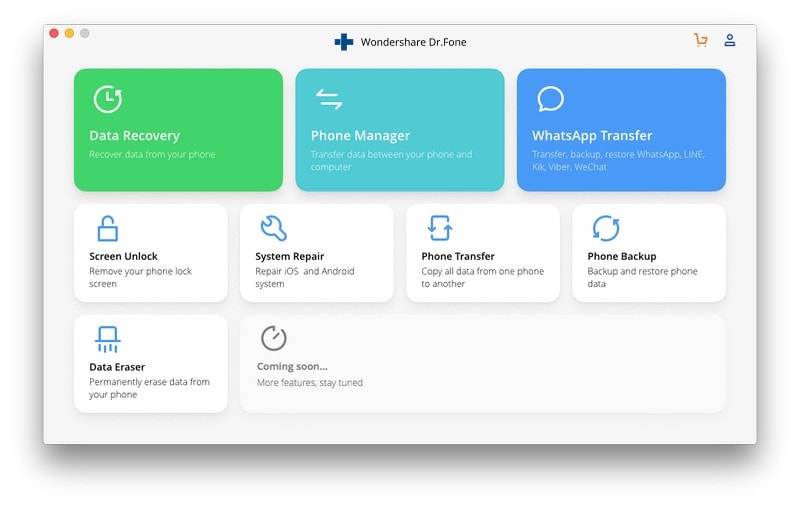
Step 1. Download and install DrFoneTool on your Mac. Launch DrFoneTool and select ‘Phone Manager’ from the primary window.
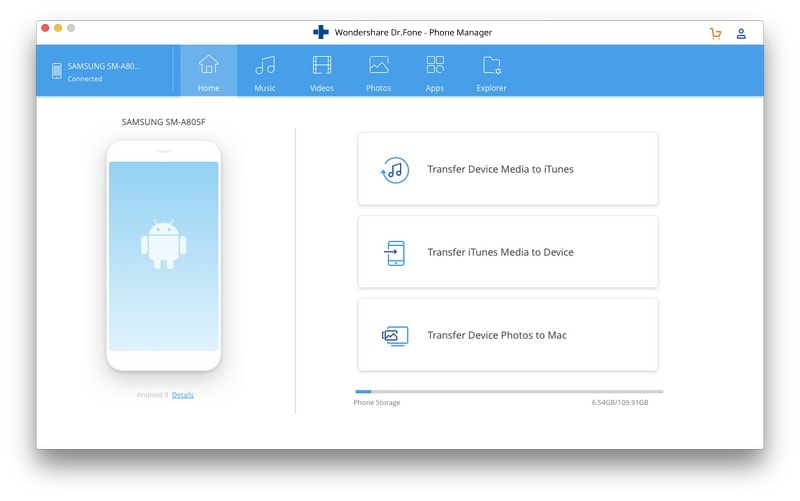
Step 2. Connect your Sony Xperia to Mac using an USB cable. To transfer photos from Sony to Mac in 1 click, just click Transfer Device Photos to Mac. Then customize the save path to store all photos from Sony on Mac.
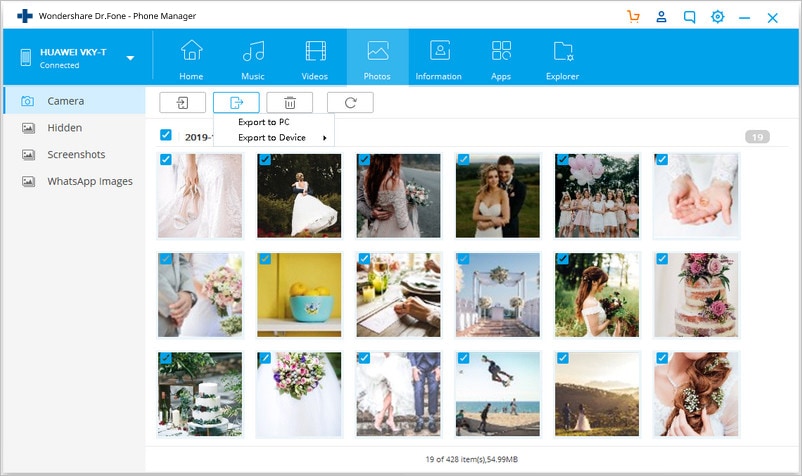
If you would like to transfer other data types, such as music, videos, contacts, messages from Sony Xperia to Mac selectively, click the data category tab on the top. Select the data and click Export to Mac to transfer them to Mac.
Part 2. How to Transfer Sony Photos and Videos to Mac
Transfer Sony photo to Mac is very easy task whereas some Song users might face a problem and get pissed off by searching a tool for data transfer Sony video to Mac. But here we have an easy way to take data backup Sony to Mac manually with using Android File Transfer. Just follow this simple steps and that’s all you have to do.
Steps for Transfer Sony photo to Mac
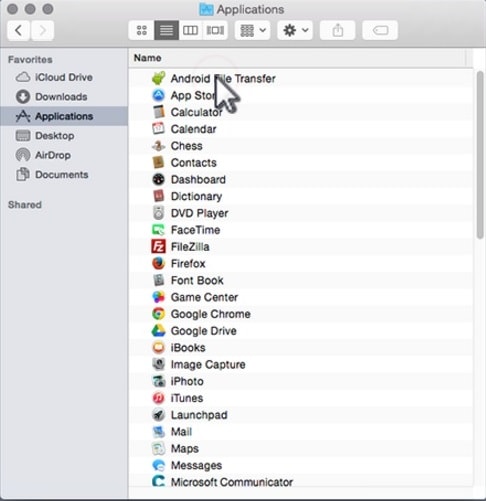
You need to install Android File Transfer on your Mac by following the instruction it asks during the installation process.
Step 1. Connect your device using USB cable on your Mac.
Step 2. Open Android File Transfer on your Mac.
Step 3. Open DCIM and then Camera.

Step 4. Now, select the photos and videos you wish to transfer.
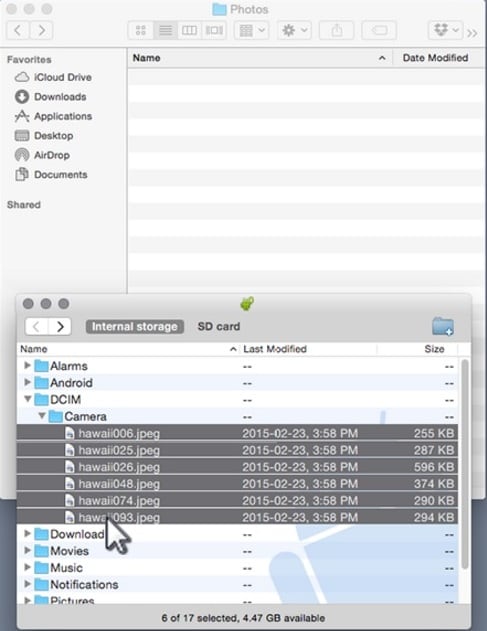
Step 5. Drag the files that you desired to have in your backup folder.

Step 6. Detach the USB cable now, if you have finished transferring of data.
Now forget about how to transfer Sony to Mac data as we have mentioned in above post only in the easy format. We recommend you use DrFoneTool (Mac) – Phone Manager (Android) which works with almost all devices in a compatible format. It’s a powerful tool available for Mac computers and allows you to transfer data from your Sony device to Mac easily with one click only.
Viimeisimmät artikkelit

