Backup Your iPhone 13 Data
If you’ve upgraded your iPhone to 13, you should backup your data first amidst the excitement. Perhaps you’ve accumulated multiple files eating up your storage space. You also know that tech devices crash, break, or get lost all the time. Whichever the case, you should backup iPhone 13 data to prepare for the unexpected and also improve your phone’s storage performance. It would place you in a better position than trying to recover precious memories, which is not impossible.
The iCloud and iTunes are some of the most straightforward strategies for saving data. You will also need a professional tool for excellent data management experience to get through the day easily. Here we’ll show quick and easy steps to help you backup your iPhone 13 files.
Part 1: Backup iPhone 13 data with iCloud
As one of the most sought Apple’s recommendations, iCloud gives more than the free 5G that comes with iPhone 13. The service helps data-heavy users with a virtual copy of everything saved on their phones. Apple has also made it easy to link your iPhone with an iCloud account by default. Here is how to go about it.
1 Adım: Connect your device to a stable internet network.
2 Adım: Select ‘iCloud’ on the Settings app.

3 Adım: Click ‘iCloud Backup’.
4 Adım: Select ‘Backup Now’ to initiate the process automatically. Do not interfere or cut the WIFI connection until it is complete. Here, you can preview the page to see the last backup date and time.

iCloud Backup Pros:
- Friendly User Interface – iCloud users delight in its simplicity of backing up files with the least effort. The process is simple with a few clicks, thus requires no special skills. You can also access your data anytime with the same short approach. The service’s easy setup also includes world-class sync features across all iOS devices.
- Get Free Space – iCloud is free to sign up and gives users free 5GB storage space to backup files.
iCloud Cons:
- 5 GB is insufficient for heavy data users – You’ll require more space as files keep piling up on your iPhone 13. iCloud will have you upgrade your subscription for more space if the 5GB in the initial package doesn’t fulfill their storage needs. If the 5 GB free limit does the job, you will select the data and apps to backup manually.
- Slow Files Transfer – Large files take longer to transfer than small files. It gets worse with a slow internet connection.
- Is iCloud Safe? – Hackers are a nuisance who never exclude Apple from falling prey to their attacks. Such security issues will bother you if you’re skeptical about unauthorized third parties accessing your private data on the iCloud backup system.
- Confidentiality – Apple service providers access everything backed up on their system. It isn’t right to say they spy on users, but ideally, they can see every information you put there.
- iCloud is Selective – iCloud only allows camera roll pictures, documents, apps, and accounts Apple deems vital. Also, you can’t backup local camera roll pictures, purchased apps, or music content you didn’t buy from iTunes.
Part 2: Backup iPhone 13 data with iTunes
The iTunes is essential when switching to iPhone 13 or updating your existing phone’s software. It backs up your files and displays the status progress on the PC. You can select the service as your automatic default backup option with the latest version. Here are a few steps to use iTunes –
1 Adım: Download and install iTunes from Apple’s website or Microsoft Play Store. Mac users can skip this process as the device has iTunes.
2 Adım: Connect your iPhone 13 to your PC or Mac with a USB cable.
3 Adım: Run iTunes and tap the ‘Continue’ option to allow your smartphone access to your computer. Enter your password to access data on your desktop.
4 Adım: Choose the ‘Trust’ option on the prompt popup on your iPhone’s home screen. You won’t go through this step if your iPhone 13 syncs with iTunes. If you signed up initially, follow the steps on display to enter your account’s password.

5 Adım: Click the phone icon on the top left side of the toolbar.
![]()
6 Adım: Tap the ‘Summary’ pane on the left and scroll down to the ‘Backup’ option. At this step, check the ‘encrypt iPhone backup’ box to protect your files with a password. Write or save it somewhere for future reference. You can reset your forgotten password here, but you can’t recover old backup files with the new one.

7 Adım: Enter your passcode and click ‘Backup Now’. Do not disconnect or interfere with your devices until the process ends.
8 Adım: Open ‘Latest Backup’ to view your most recent files on iTunes.
Part 3: Backup & Restore iPhone 13 data without iTunes and iCloud
Sometimes iTunes and iCloud sessions fail because of backup errors. You also can’t backup files to any destinations besides the default path. Offline data backup solutions are necessary and reliable to varied paths to roll back to all or selective files to restore them on iOS. The Dr. Fone – Phone Backup (iOS) provides easy and flexible backup and recovery approaches without overwriting data. This amazing tool is also essential for recovering data from any iOS device. The software is compatible with all iPhone models and supports all iOS systems to export files to a computer. It has all the powerful features that are useful for users.
Özellikler:
Steps to Backup iPhone 13 Data Using DrFoneTool – Phone Backup (iOS):
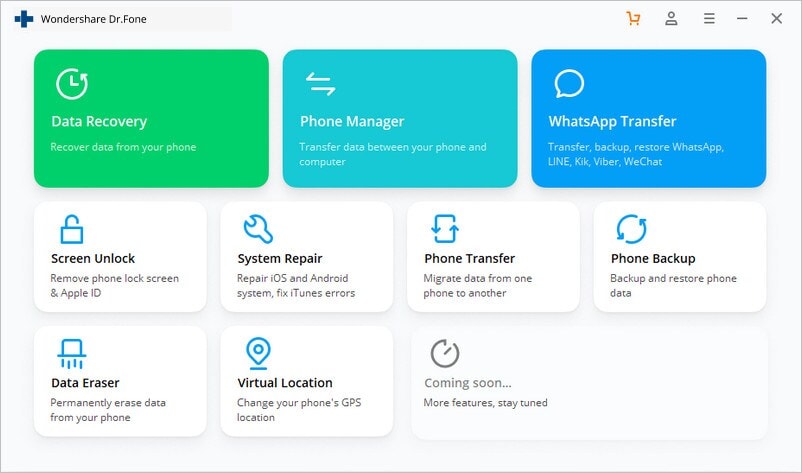
1 Adım: After installing Dr. Fone on your computer, connect the iPhone 13 to the PC with a USB cable. Run Dr. Fone tool on the computer and click on the ‘Phone Backup’ option from the tool list.
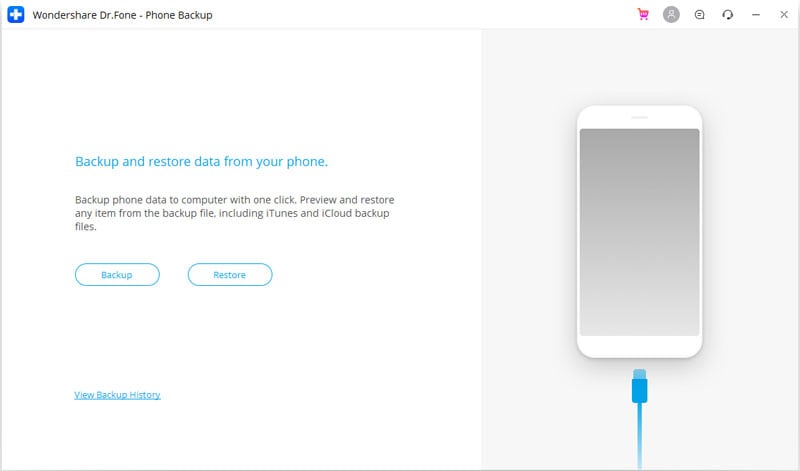
2 Adım: The program will automatically detect the iPhone 13 and you will get an interface like below. Now click on the ‘Backup’ option to get into the device data backup and restore process.
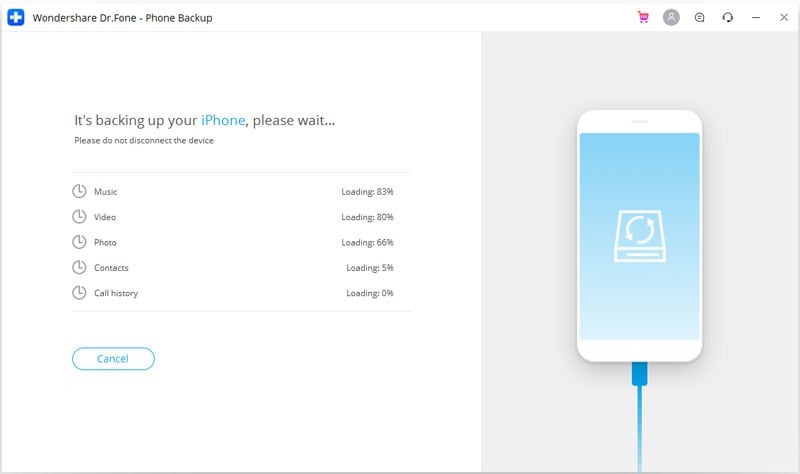
3 Adım: Now the software will detect all the file types available on your iphone 13 automatically. You can check the target file boxes and tap on ‘Backup’ to begin. The speed of the process varies with your file size.

4 Adım: Finally, click on the ‘Backup History’ to preview your iPhone 13’s backup history. You can also view specific content to export on your computer.
Steps to Restore iPhone 13 Data Using DrFoneTool – Phone Backup (iOS):
1 Adım: Run Dr. Fone on your computer and connect your iPhone. Open ‘Phone Backup’ and select ‘Restore’.
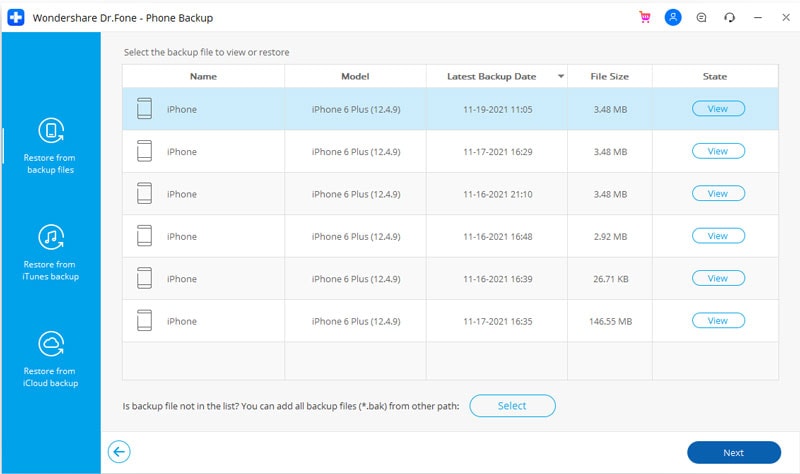
2 Adım: Select ‘View Backup History’ to display previously backed up files if you’ve used this approach before.
3 Adım: From the backup history, you will find previous backup files available on the window. Choose a specific file to restore and click ‘View’ on the bottom.
4 Adım: It will take a few seconds for the program to display all the files that are available inside the backup file. Find the files that you need from the categorized list on display like call logs, messages, videos, audios, contacts, photos etc.
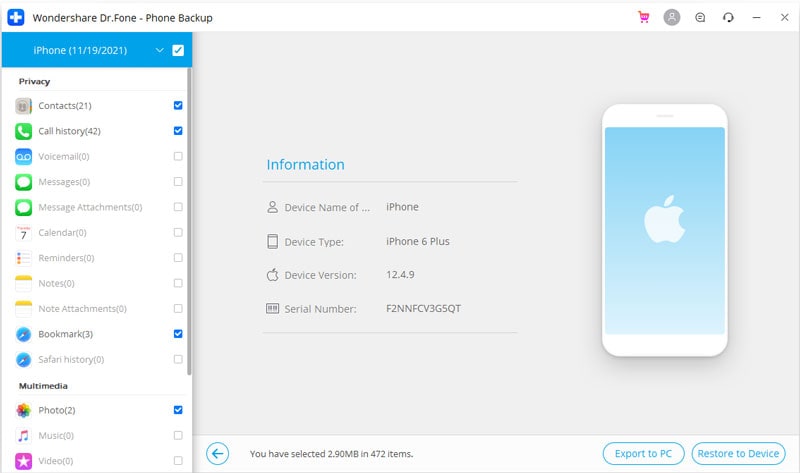
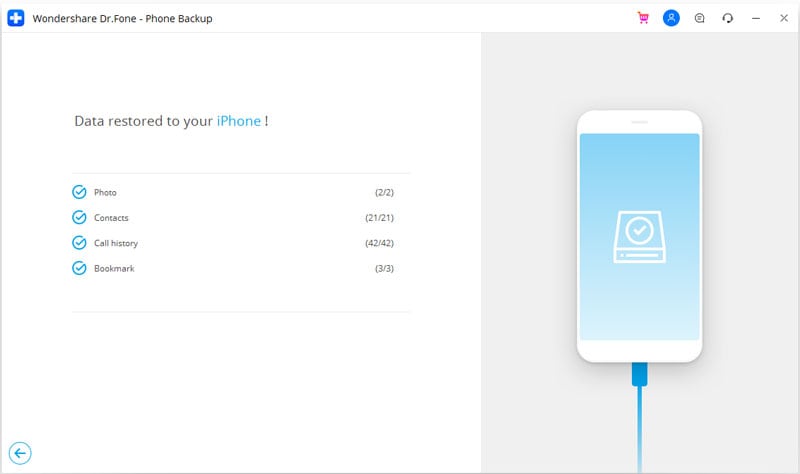
5 Adım: Finally select the files that you want to restore. Then, tap on ‘Restore to Device’ to save files on your iPhone 13 or export them to your PC by clicking on ‘Restore to PC’.
Part 4: Backup iPhone 13 with Google Drive
Backup your iPhone 13 data on Google Drive, depending on the data on your phone. Users enjoy 15 GB of free storage space on Drive, which is three times more than what they get on iCloud. The service also provides additional video streaming and Gmail benefits feasibly. Before backing up files on Drive, consider these insights:
- Google Photos will not backup data organized in different albums but will combine them randomly in one folder.
- If you backup similar photos several times, Google Drive will only consider the most recent ones.
- Google Contacts and Google Calendar will not backup Facebook, Exchange, and other such services.
- You will need a stable internet connection to backup data.
- Google Drive overwrites previous calendars and contact backups.
- Drive won’t store text messages, voicemails, and app data not saved on the files app.
You can recover data on cross-platform devices on PC, Mac, Android, and iOS. Google syncs your Gmail account with any new device you purchase to restore calendar information and phone contacts. The backup process is as easy as explained below:
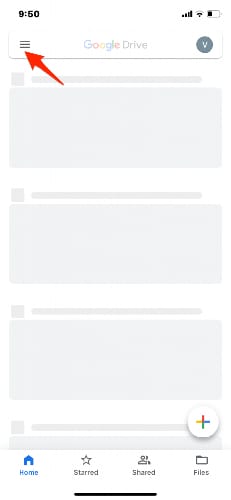
1 Adım: Open the Google Drive app on your phone and sign in with your Gmail account or register one if you are a new user.
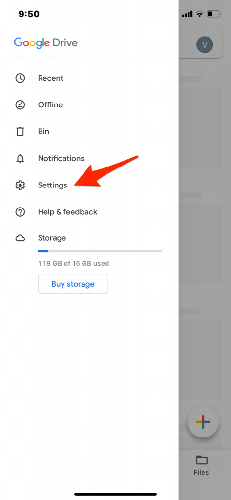
2 Adım: Tap on ‘Menu’ up top to the left of the app to display a list.
3 Adım: Click ‘Settings’ option from the left panel and select the ‘Backup’ option. You will see Contacts, Photos & Videos, and Calendar options.
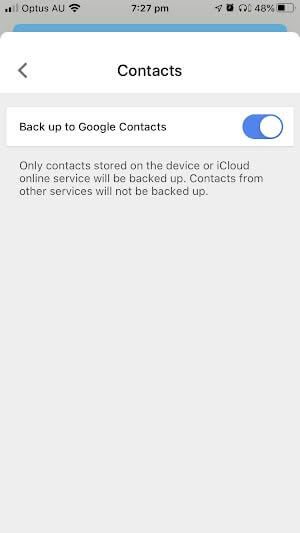
4 Adım: Turn on Contacts, Calendar, Photos & Videos toggles to backup iOS contacts to Drive.
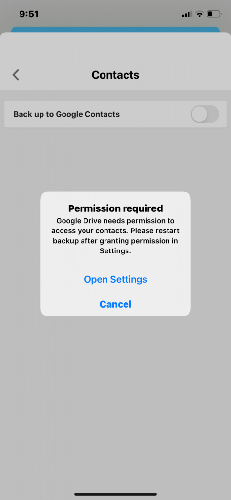
5 Adım: If asked to grant permission, open settings and allow drive access to the three apps.
6 Adım: Tap on ‘Start Backup’ to upload your iPhone 13 data on Google Drive.
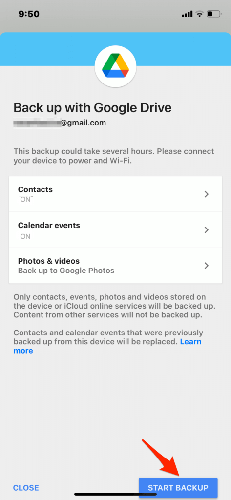
Google Drive categorically backs up iPhone 13 data in Google Calendar, Google Photos, and Google Contacts. Note that limitations like stable WIFI, personal Gmail accounts, and manual backups apply. Once you open Google Drive, the backup process has to end to use other apps because it doesn’t run in the background. Fortunately, the process continues from where it reached should you interrupt it.
Sonuç:
This guide gives you several data backup and recovery options on iPhone 13 if your device’s storage is insufficient. You can use the iCloud backup to store files and restore them conveniently. The iTunes can also back up automatically or manually; recover, and encrypt your data. Protecting crucial information from damage, loss, or misplacement also means having effective Google Drive backup to keep your data updated. However, DrFoneTool – Phone Backup (iOS) has the highest data recovery rate in the industry. You can easily access messages, videos, notes, and photos and enjoy other plus features with the versatile. We also recommend this tool because it pursues multiple concepts to fulfill your storage needs on a budget and for a valuable job.
En son makaleler